
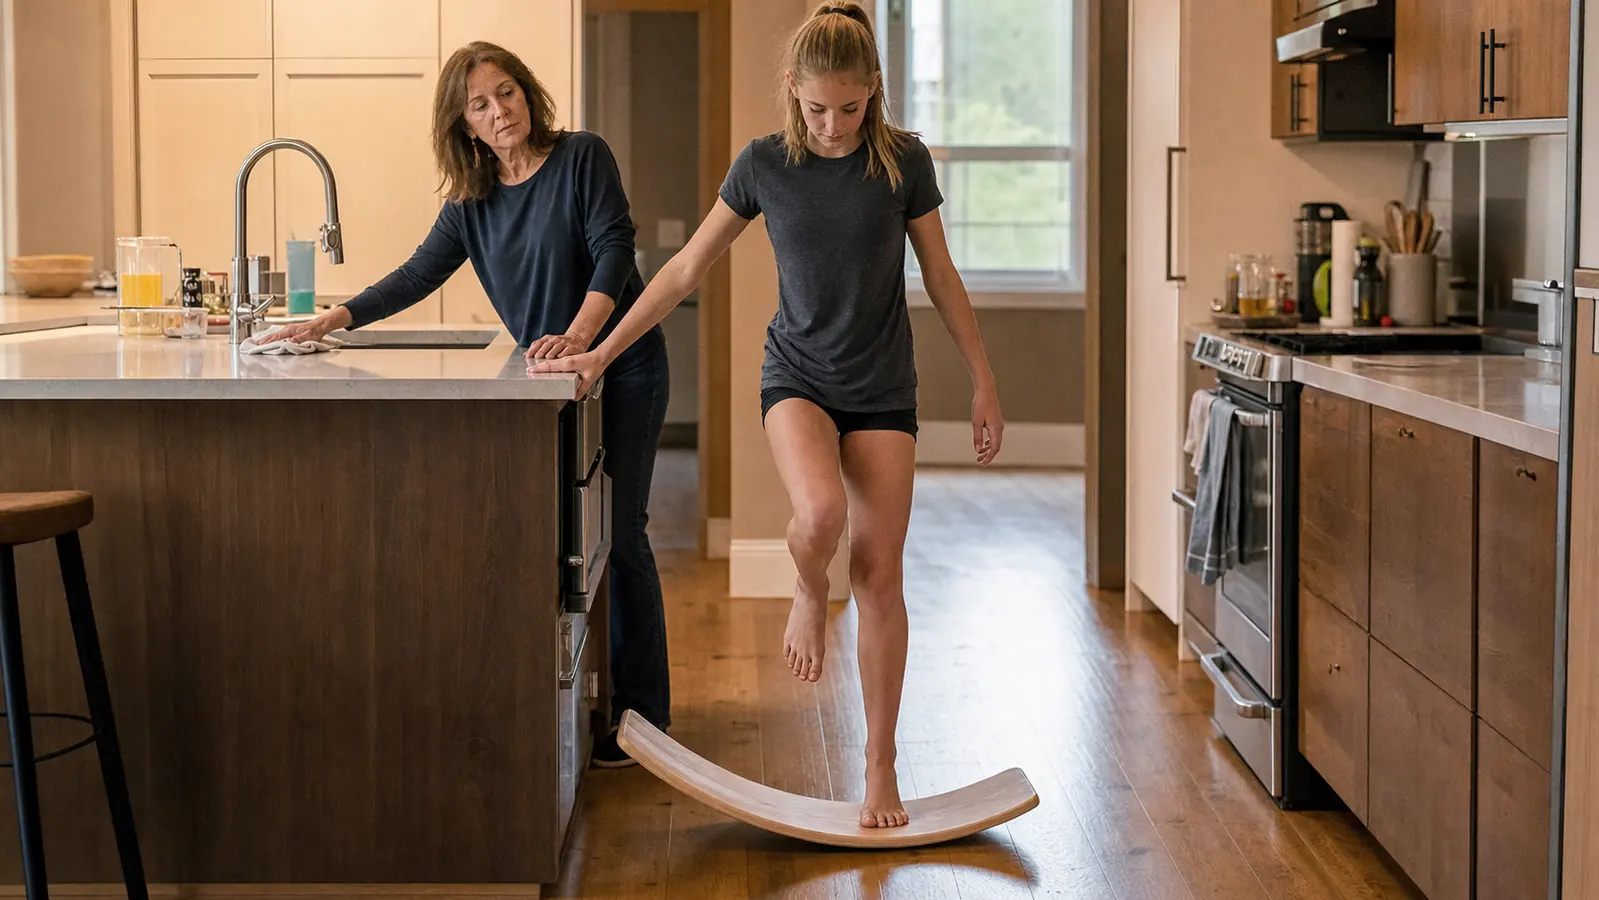
Both of my kids have rolled an ankle in the last three seasons, Theo shooting in low for a takedown at a JV wrestling meet, Mari landing wrong off a block at the net during a Saturday club tournament. Neither one turned into anything serious, just the kind of sprain that has a kid limping to the car and off the mat or the court for a week or two, and then everyone quietly forgets about it until it happens again to someone else's kid. It was the actual trainer at Mari's club, the one with the certification, not me, who first had both my kids working on a wobbly wooden board before and after practice. I watched what she had them doing for a season, started doing a simpler version myself for my own feet, and eventually we bought a StrongTek wooden balance board of our own so nobody has to wait their turn on the one at the gym anymore.
I want to be straight about what this is and is not before you read another word. This is not a rehab protocol and I did not write it as one. If you or your kid is actually rehabbing a sprained, fractured, or surgically repaired ankle right now, this article is not for you, follow whatever your physical therapist or athletic trainer actually put in front of you instead, they can see the ankle and I cannot. What follows is the maintenance side, the kind of steady balance work healthy, uninjured ankles do between matches so they are hopefully a little less likely to end up in that trainer's office in the first place. Balance training has real, genuine research behind it as one piece of ankle stability, and that is honestly as far as I will take the claim. Nothing here promises a sprain will never happen. Bodies still roll ankles on a bad landing no matter how many hours they logged on a board, mine included.
The Board That Actually Gets Used Between Matches
The StrongTek wooden balance board is what sits by our back door now, not tucked in a closet. It flips between a basic rocker mode for beginners and a harder 360 degree wobble mode once someone is steady, so it grows with a kid instead of getting outgrown in a month.
Amazon Check Today's Price on Amazon →Step 1: Start With Both Feet, No Board, Something Solid Within Reach
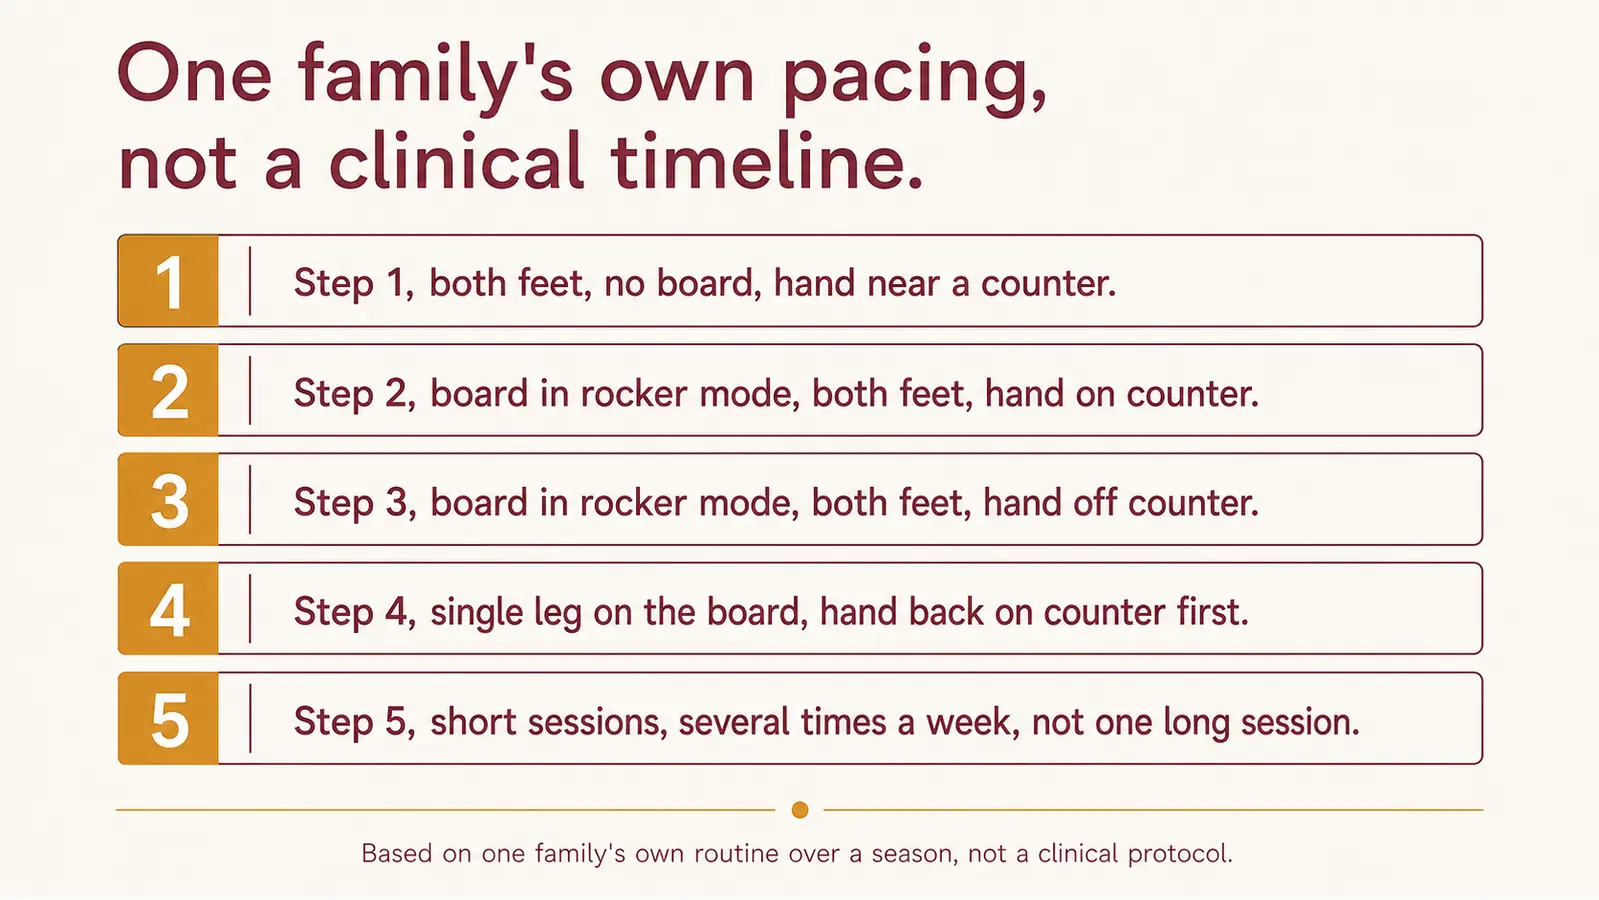
Before either of my kids ever stepped on a board, the club trainer had them doing this first, and it costs nothing and needs no equipment at all. Stand next to a counter or a heavy piece of furniture, bare feet or a grippy pair of shoes on a clear floor, and lift one foot a few inches off the ground. Hold for as long as feels steady, usually somewhere around twenty to thirty seconds, then switch feet. It sounds almost too simple to matter, but it is how you find out honestly which ankle is the weaker one before you ever add anything wobbly underneath it.
A few practical safety points that apply to every step in this whole routine, not just this one. Do it near something solid you can actually grab, a counter or a sturdy railing, not a chair that slides. Bare feet or grippy athletic shoes only, never socks on a hard floor. Clear the area first, no shoes, no bags, no stray chairs to trip over. And if anything sharp or genuinely painful happens at any point, not the normal wobble of losing your balance but an actual pain, stop and do not push through it.
This first step is also the one that told us the most about our own kids, honestly. Theo's ankle from the wrestling roll, his left one, noticeably shook more and gave out sooner than his right, even weeks after it stopped hurting day to day. Mari's two ankles were closer to even, which the trainer said is common for a setter whose landings tend to be more controlled than a hitter's. None of that is a diagnosis, it is just what standing on one foot next to the counter for thirty seconds told us before we ever added a board to the mix, and it is worth noticing before moving on to step two.
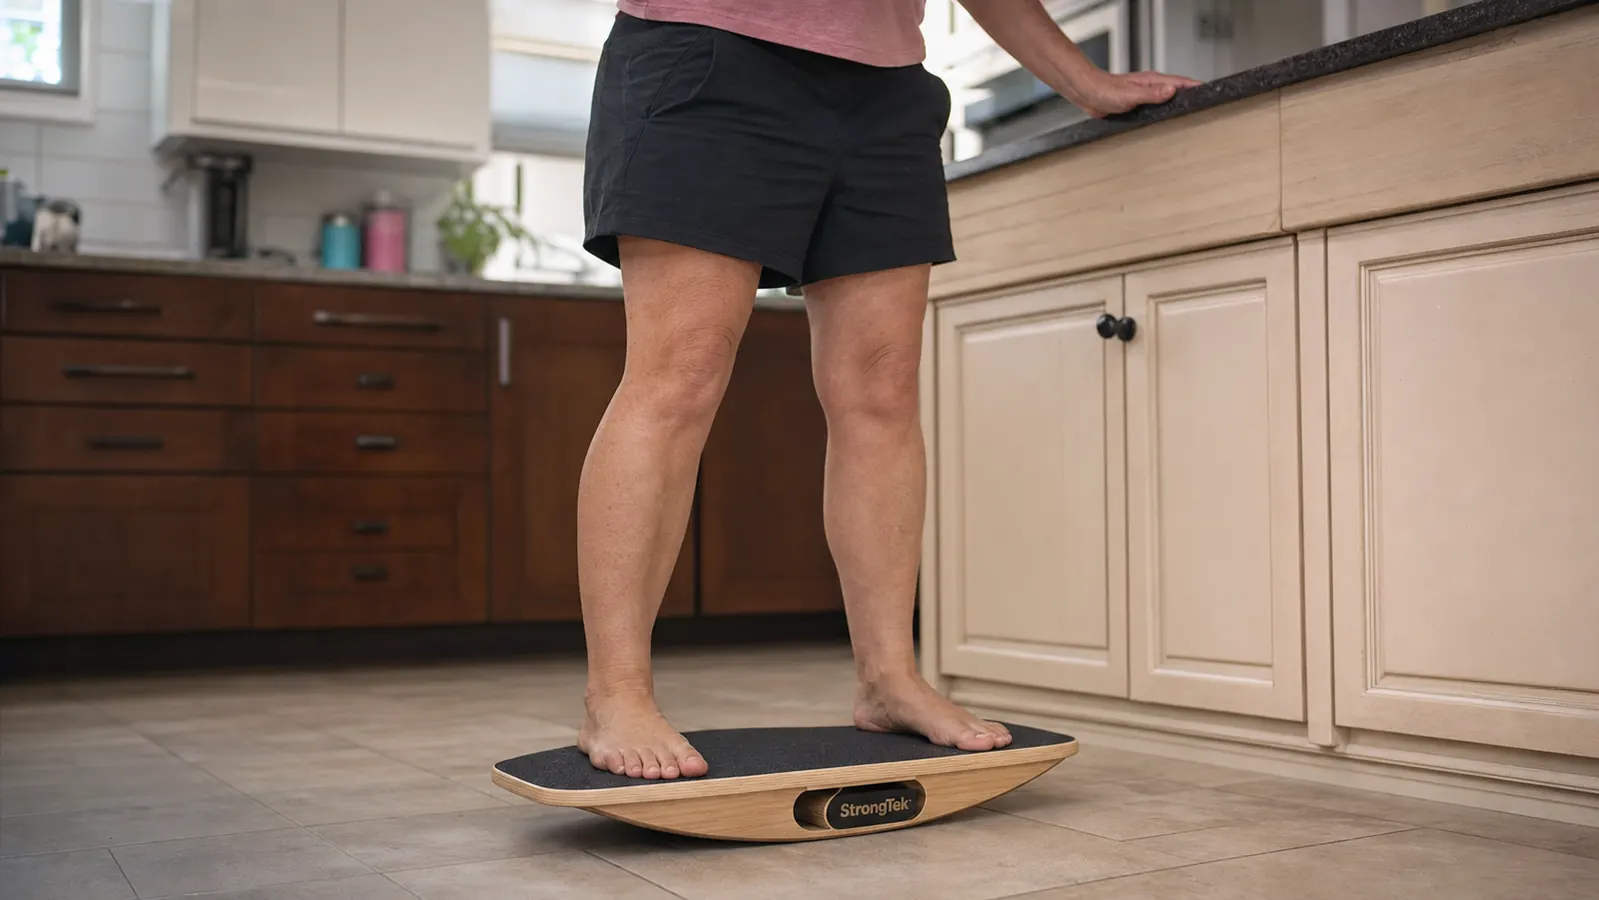
Step 2: Add the Board in Rocker Mode, Both Feet, Hand on the Counter
Once standing on one foot on flat ground feels boring instead of hard, that is the sign to add the board. Set the StrongTek board to its basic rocker mode, which only tips front to back or side to side depending on how you place it, not in every direction at once. Step on with both feet, keep a hand resting lightly on the counter, and just get used to the tipping. Let it rock slowly one direction, then the other, without letting either edge slap down hard against the floor. Two or three minutes here is plenty to start.
This is the step where I see most beginners rush, my own kids included the first week. The instinct is to fight the board and lock every muscle up, when what actually helps is staying loose through the ankles and knees and letting small, constant micro adjustments happen instead of one big correction. The rocker mode on the StrongTek board is genuinely gentler than I expected the first time I tried it myself, standing there in the kitchen after Theo went to bed, which is exactly why the trainer has beginners start here and not on the harder setting.
Theo and Mari did not move through this step at the same pace, and I stopped expecting them to after the first week. Mari, with four years of volleyball footwork already in her legs, felt comfortable here in a couple of sessions. Theo needed closer to two weeks before the rocking stopped feeling like a fight, which the trainer told him was completely normal for a first year varsity JV wrestler still building that particular kind of body awareness. There is no schedule that fits every kid, only the sign that it is time to move on, which is boredom, not a calendar.
Step 3: Let Go of the Counter, Still Both Feet
Same rocker mode, same both feet on the board, but now the hand comes off the counter, just close enough to grab it again the instant you actually need to. This is a bigger jump than it sounds. Balance work is honestly a lot about trust, trusting that a small wobble is not going to turn into a fall, and that trust builds slowly, over days and sometimes weeks, not in one session. Some days Mari nails this in her first try. Other days, usually after a long practice, she is grabbing the counter every ten seconds, and that is fine too.
We do this step most evenings, five minutes or so after dinner and before homework, in front of the kitchen counter rather than anywhere fancier. There is nothing special about that spot, it is just close to something solid and it is where the board already lives. If a session feels shaky and frustrating, the honest fix is not to push through it, it is to shorten the session and try again the next evening instead. That has mattered more for us than any single technique in this whole routine.
If you are trying to decide whether a wobbly board like this or a fixed foam slant board makes more sense for your situation, I laid out the honest differences between the two in balance board versus slant board, since they genuinely solve slightly different problems and I did not want to pretend they are interchangeable.
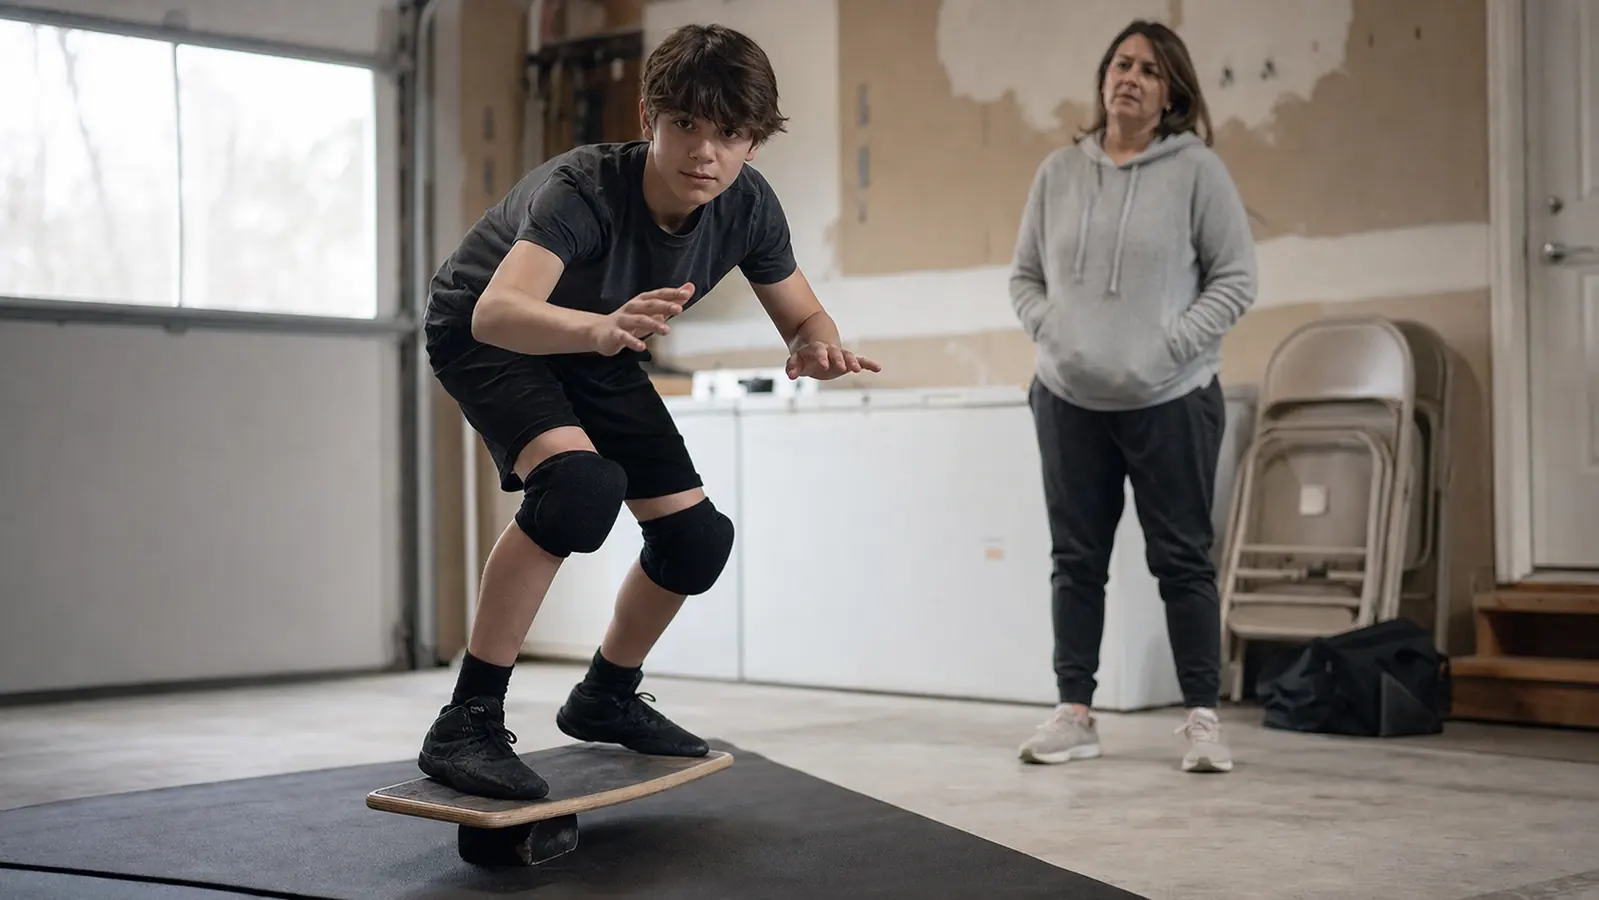
Step 4: Move to Single Leg, Hand Back on the Counter First
This is the step that actually mirrors what happens on a court or a mat, one foot doing all the work while the body reacts to something unstable underneath it. Start it exactly the way you started step one, hand back on the counter, because single leg on a rocking board is genuinely harder than either single leg on flat ground or two feet on the board, and combining two new challenges at once is how ankles that are not ready get overworked instead of trained. Lift one foot, let the board rock gently under the standing leg, and hold as long as it stays controlled, not shaking or slapping the edges down.
Only once that feels steady with a hand nearby does letting go make sense, and even then, keep the counter within arm's reach every single time, not just for the first week. Theo still keeps a hand close on his wrestling ankle, the one he rolled, months after he stopped needing it on the other side. If at any point this step produces sharp pain rather than ordinary wobble and effort, stop for the day and mention it to whoever is actually managing that ankle professionally, because that is a different conversation than a balance routine can answer.
We stayed on this step for the better part of a month before either kid moved past it, and I stopped rushing them once I understood that the actual goal was a controlled hold, not a fast one. A wobble that stays small and settles is a good sign. A leg that shakes hard, drifts off the board entirely, or needs the free hand out for balance every few seconds is telling you the earlier step still needs a few more sessions, and that is not a failure, it is just information.
Step 5: Short Sessions, Often, Not One Long Session Once in a While
The single biggest thing I have watched the club trainer insist on is frequency over duration. She has both my kids doing five or ten minutes most days during the season rather than one exhausting thirty minute session on a Sunday. Tired legs at the end of a long session start compensating with the hips and the knee instead of the ankle actually doing the work, which somewhat defeats the point. Short and often, worked into the same few minutes as brushing teeth or packing a gym bag, is what has actually stuck for us over an entire season, where longer sessions never did.
Once single leg on the rocker mode feels genuinely easy, some kids move on to the StrongTek board's advanced 360 degree wobble mode, which moves in every direction at once instead of just front to back, and it is noticeably harder. Mari also added a small sport specific piece on her own, reaching one arm out to mimic a block while balancing on the board, since that is closer to what her ankle actually has to handle mid match. None of that is something I invented, it came from watching what her trainer built toward over a full season, and I am only passing along the shape of it, not prescribing it as anyone's actual program.
What Else Helps
Shoes matter here more than the board does most days. Both kids wear the shoes their sport actually calls for, real wrestling shoes and real volleyball shoes, not whatever sneakers were closest to the door, because ankle support built into decent footwear is doing real work that a five minute drill cannot replace. A proper warmup before practice or a match matters too, and cold, stiff ankles rolling straight into hard cuts and landings is asking for trouble no balance board fixes after the fact. None of this replaces an actual evaluation from a doctor or an athletic trainer if an ankle is swelling, staying painful past a few days, or feels unstable in a way that worries you. Danny will not go to a doctor until I make the appointment for him, which tells you something about how often the people in this house wait too long, and I would rather someone reading this go in a week earlier than we usually do.
Sleep and general fatigue seem to matter more than I expected too. The sessions that go worst around here are almost always the ones squeezed in after a long practice or a five match Saturday, when everyone is running on empty, and I have learned to just skip the board that night rather than force a tired, sloppy session that teaches nothing useful. A loose calf and Achilles help the whole thing feel less stiff as well, so a simple standing calf stretch against a wall before stepping on the board most evenings is a small habit that has quietly made the balance work itself easier for both kids.
I am not the trainer. I am the mom who watched the trainer, wrote down what she saw, and bought the same kind of board so her own kids could practice it at home between matches instead of only at the gym.
If you want the fuller, unfiltered picture of what this board has actually been like to own for a whole season, including a couple of things I did not expect, I wrote that up honestly in the honest balance board review.
Ready to Try the First Two Steps Tonight?
The StrongTek wooden balance board flips from a gentler rocker mode to a harder 360 degree wobble mode, so it works for a first timer standing next to the counter tonight and for a kid three months into single leg work. It is the same board that lives by our back door all season.
Amazon Check Today's Price on Amazon →